
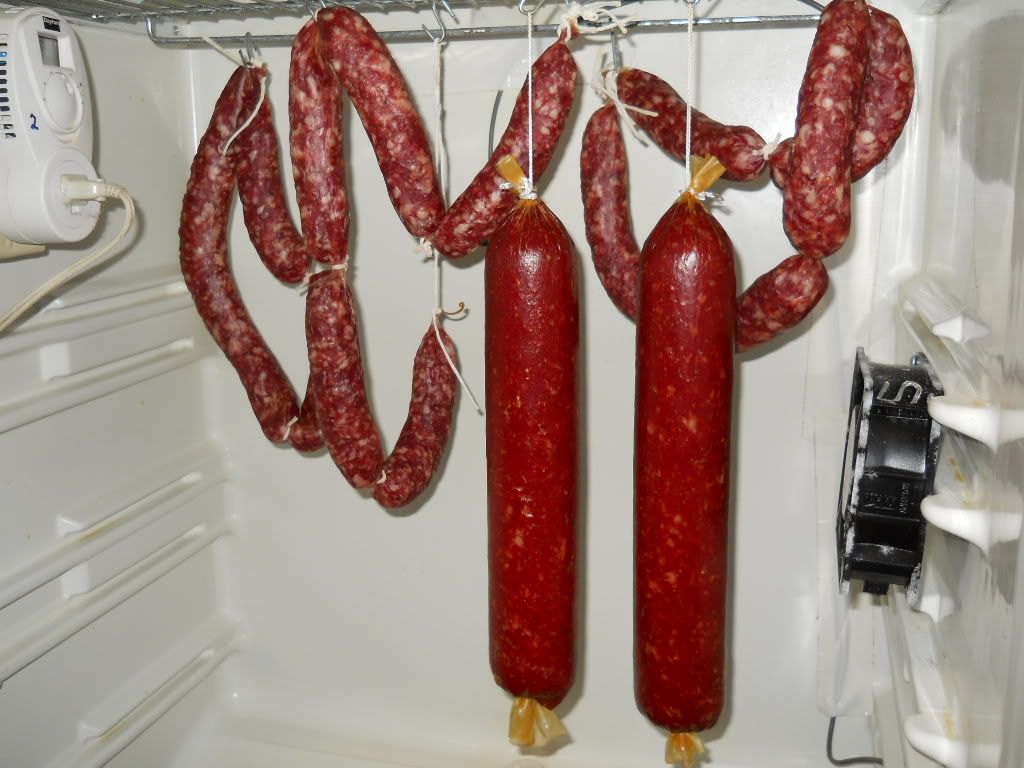
Our ol` rusty dusty wagon wheel (chuckwagon) asked if I could share a piece, on how to build a homemade curing chamber, so here I go.
All though not a perfect design this is about as close as I could get to a homemade cabinet without spending a wad of cash. Below is a list of materials I put together to build a curing chamber
1. Working refrigerator / freezer (I prefer a freezer it has more cabinet space)
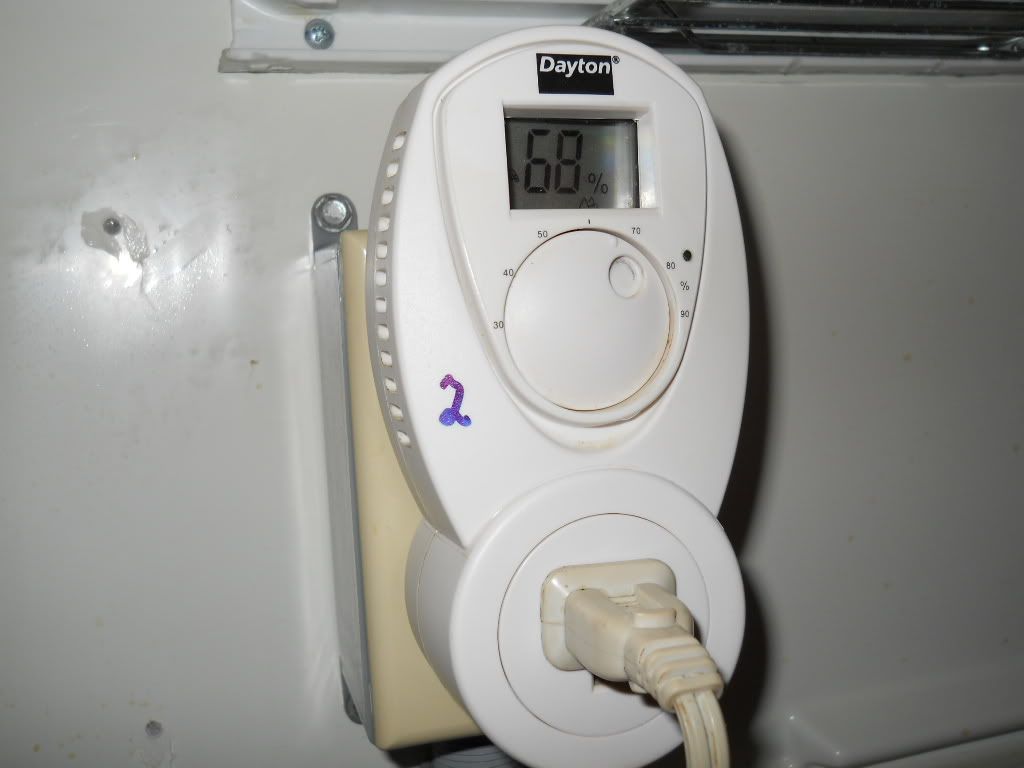
2. Humidity control - With my setup I use a 1UHG3 from Grainger, http://www.grainger.com/Grainger/DAYTON ... Pid=search
This controller is not perfect but works pretty well, I found it will keep the humidity level within 2 - 3% of the set point.
Green air makes a nice humidity and or temperature controller, but I wanted to keep the cost down. https://www.greenair.com/browse/atmosph ... llers.html
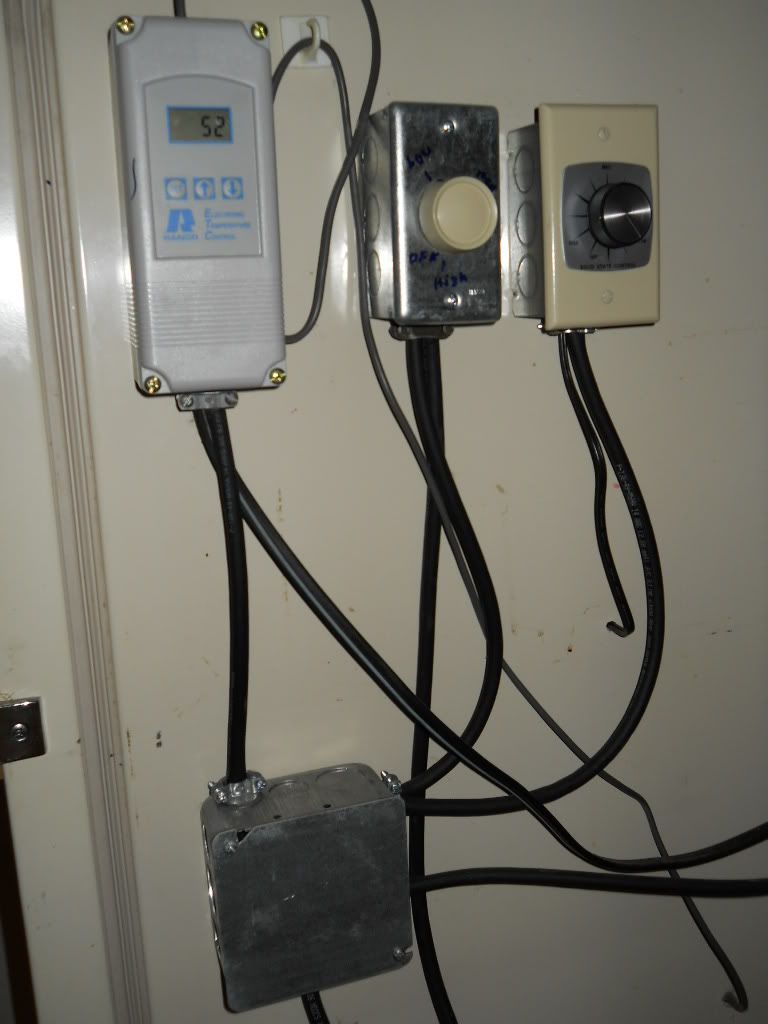
3. Temperature control- Here I also ordered from Grainger a Ranco controller. http://www.grainger.com/Grainger/RANCO- ... Pid=search
I have experimented with several temp controllers and this one seems to last and work much better than the others I have purchased. Again not perfect but it does maintain temps within a degree or 2 from the set point.
4. Nursery humidifier - This can be picked up from any retail drug store. Keep in mind a smaller humidifier will work fine and not take up to much space. I have a 1 gallon humidifier and the water will last for several days.
5. Small fan - I installed a fan in my cabinet, but found that I rarely use the fan due to I find it dries my salami out to quick. I open the door once a day to check on things and this circulates the air.
6. Heat source - I setup a 75 watt light below in the cabinet with a dimmer switch to help out during winter months, but I rarely use the bulb. Most of the salamis I make, will take place spring through fall.
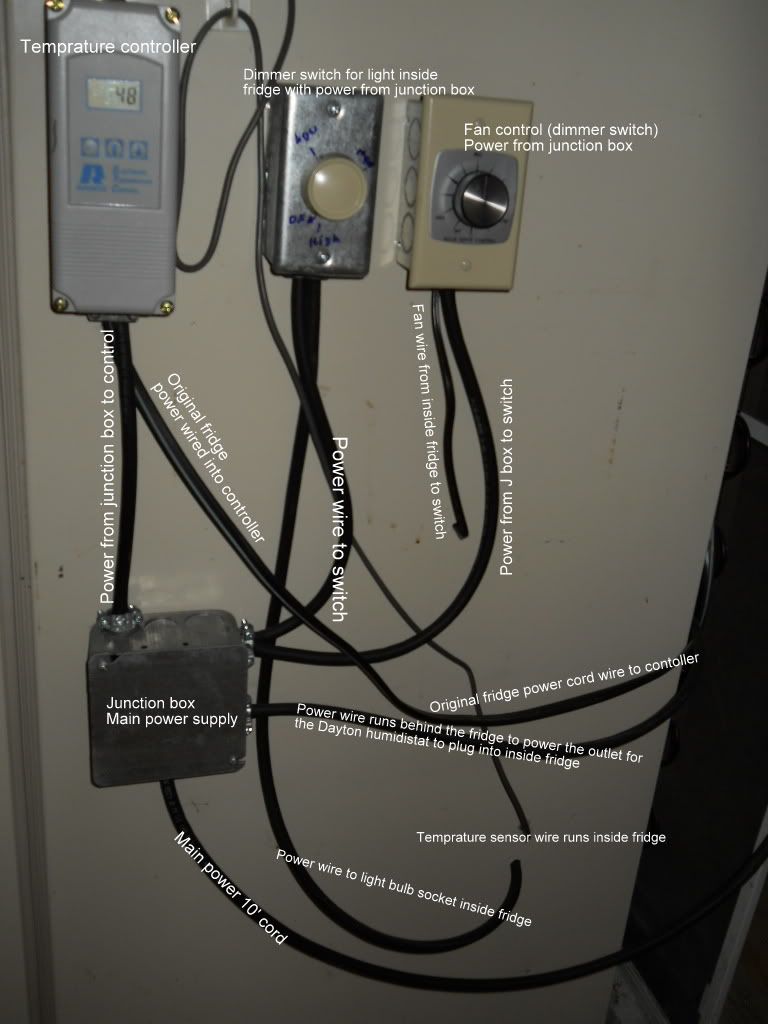
Setting up takes basic wiring and can be completed on a Saturday afternoon. Keep in mind when drilling into the side of the fridge/freezer to make sure not hit any wiring or cooling coils. It also helps to find a fridge / freezer with a defrost selector on/off switch. The auto defrost is something we don`t want, this will draw moisture out of the cabinet and we don`t want this, we want to keep the moister in the cabinet. A majority of the newer refrigerators today come with an auto defrost and have no selection, so you may be looking for a unit a couple years old.
Plan ahead, be creative and shop around, deals on refrigerators/ freezer pop up all over the place. I just picked up a freezer from a guy for free, he claimed it did not work anymore, I brought the 4 yr old freezer home and found, it just needed a good cleaning. I cleaned the compressor (under the unit) and the rest of the cabinet inside and out, and it works


 [/img]